If you’re using your MacBook to DJ it’s a good idea to get your machine as optimised as possible to maximise performance. In this article we are going to show you five handy tips that you might not have been aware about to streamline your machine for DJ applications!
Energy Saving
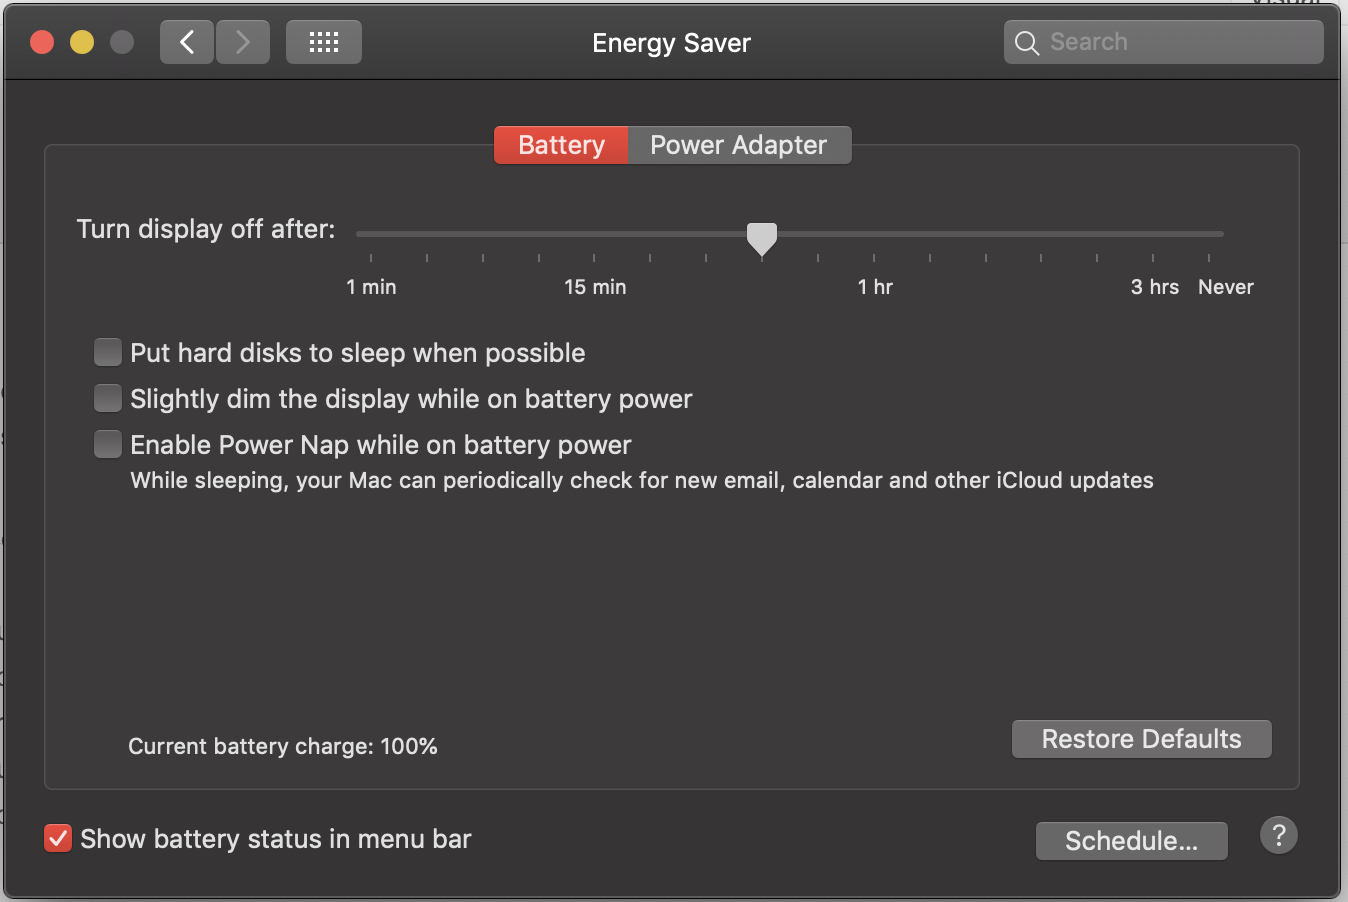
This simple change helps prevent the MacBook from sleeping or shutting down your hard drives which can cause audio drop outs and stuttering within DJ applications.
- Open System Preferences
- Click “Energy Saver”
- Un-check the box for “Put hard disks to sleep when possible”
- Set the screen off time long enough to not turn off when you are playing a mix (usually around a 30 minutes – 1 hour)
- Click on “Power Adapter”
- Un-check the box for “Put hard disks to sleep when possible”
- Set the screen off time long enough to not turn off when you are playing a mix (usually around a 30 minutes – 1 hour)
- Check the box that says “Prevent computer from sleeping automatically when the display is off”

Turning off Automatic Brightness
Playing in night clubs with strobe lights and beams of lights crossing over your MacBook can turn your own laptop into its own light show. The screen and keyboard lights pulsing, trying to brighten up in the dark moments, only to be hit with a strobe light a second later and needing to turn down again. This not only looks bad, but it’s also wasting the computer’s resources so it’s best if we turn both off, giving us full manual control over the brightness of our machine.
- Open System Preferences
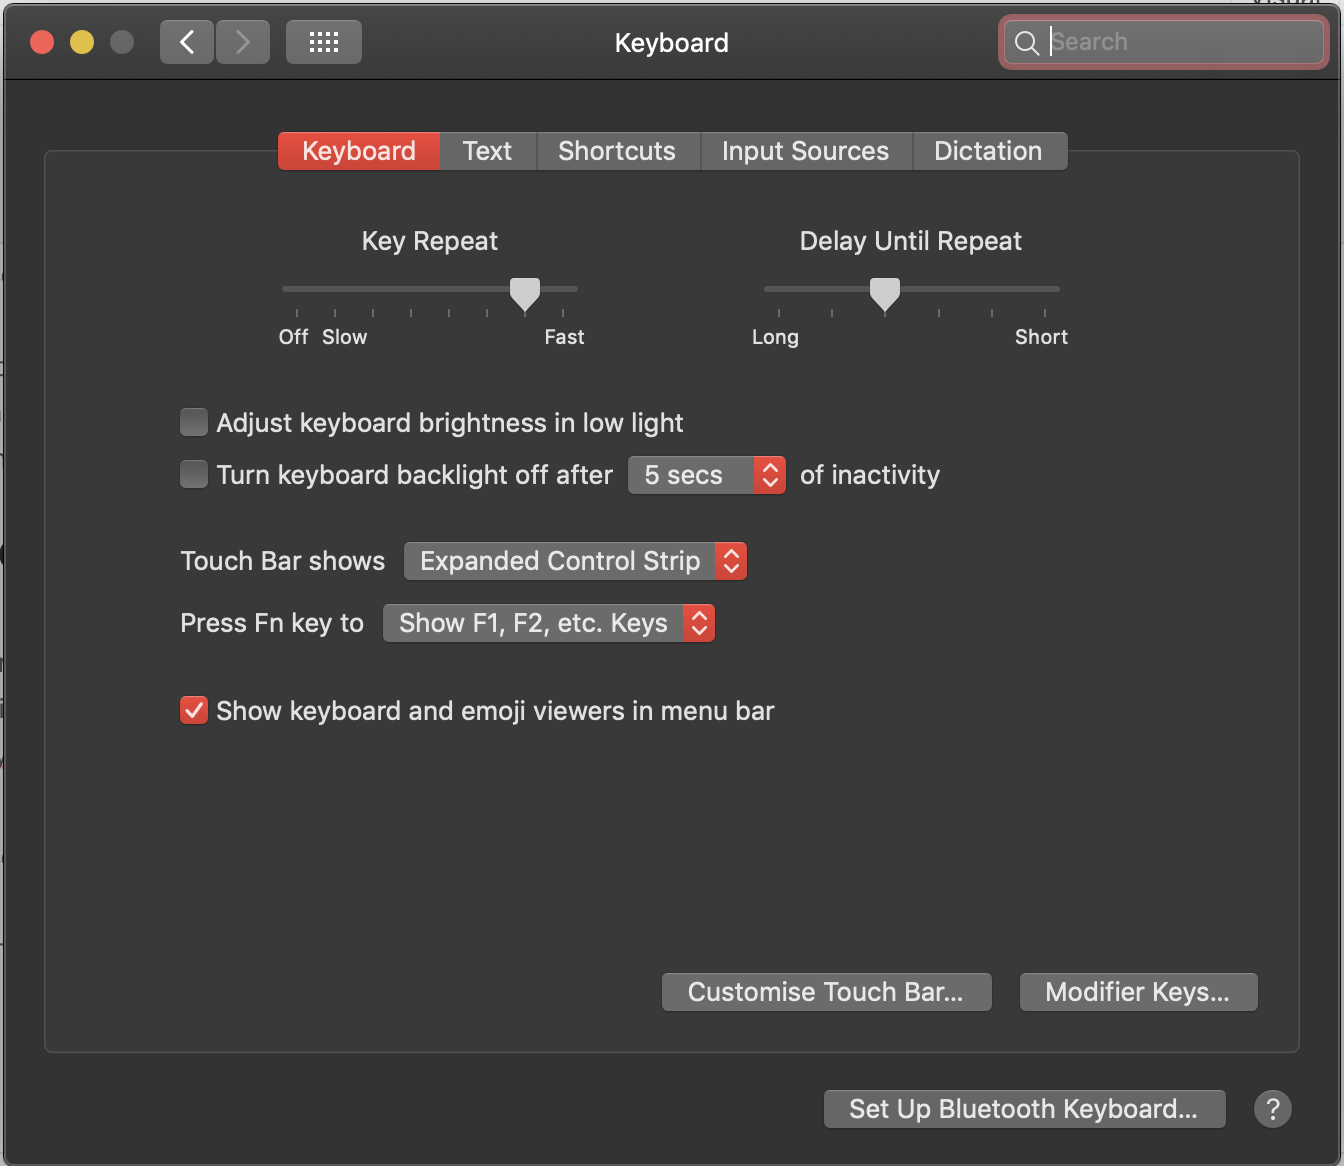
- Click “Keyboard”
- Un-check the box for “Adjust keyboard brightness in low light”
- Return to System Preferences
- Click “Displays”
- Un-check the box for “Automatically adjust brightness”
Lock Screen Message
Keeping your laptop safe and secure is vital at all times, but even with the strongest passwords, you can’t do much if the laptop is taken by mistake or ends up in the wrong hands. This quick tip will allow you to display a message on the laptops lock screen, a small tip but one that might just come in handy should the worst ever happen.
- Open System Preferences
- Click “Security & Privacy”
- Click the padlock in the lower left corner and enter your password
- Check “Show a message when the screen is locked”
- Click “Set lock message”
- Enter a message, we recommend entering contact methods. For example “please contact Joe Bloggs on +447410000”. Remember if you are playing abroad to enter the international dialling code!
- Click the padlock in the lower left corner to save your changes
Turning off Automatic Updates
As the old saying goes, “if it isn’t broken, don’t fix it” and this couldn’t be more true than when it comes to computer updates. We always recommend playing on the latest software releases however, the operating system is treated very differently indeed. Unfortunately Apple have a reputation for causing issues with DJ softwares when they update the OS. The recently released Catalina update still isn’t fully supported for example, so for this reason we recommend turning off automatic updates. Should you require any update for other tasks, you can manually update at your own leisure by returning to the software updates panel in the system preferences.
- Open System Preferences
- Click “Software Update”
- Un check the “Automatically keep my mac up to date” box
- Enter your password when prompted
- Confirm you want to turn off the automatic updates
Touch Bar Control Settings
For reasons we aren’t quite sure about, the touch bar Mac Book pro’s can suffer with screen freezing when the laptop is subjected to bright lights such as strobes. Even with the automatic brightness settings turned off (see tip 2) these laptops can stutter which isn’t ideal in a set. Luckily we can easily fix this by changing the touch bar settings.
- Open System Preferences
- Click “Keyboard”
- Change the touch bar shows to “Expanded control strip”
Video Guide
Want to learn more?
Here are our best selling courses for Serato!
Pioneer DDJ SB3 DJ Course
3.75 hours
28 lessons
Beginner
Serato DJ Course
3.5 hours
23 lessons
Beginner
Serato DJ Course
8.5 hours
47 lessons
Intermediate
Pioneer DJ DDJ-FLX4 Course
7 hours
41 lessons
Beginner
Complete DJ Package
835 hours
1300+ lessons
Creative
Pioneer DJ DDJ-FLX4 Pro Course
9.5 hours
49 lessons
Intermediate
DDJ FLX4 Beginner To Pro Bundle
16.5 hours
90 lessons
Beginner
Numark Beginner Course
4.2 hours
35 lessons
Beginner